
I have been trying to eat better these days. Eating better means lots of fruits and veggies. Eating better means a lot less of what I really crave - crunch; the kind of crunch you can only get from a chip or thin cracker. I spent some time on Pinterest looking at lots of recipes for apple crisps but found most to be too chewy or coated with sugar/cinnamon. After much trial and error, I have come up with a plain, simple apple chip that doesn't look all the great but has a wonderful flavor and, more importantly, a good solid CRUNCH!
A lot of the recipes I found online had you dusting or dredging in sugar and spices. I don't think it is needed. The apples are great all by themselves. Most any kind of apple will work but my preference of taste and texture is a good old Red Delicious. (Note the photos were taken with Fuji - good flavor but texture not as good). If you don't have a mandolin and plan on making these often, it is a purchase I highly recommend. It is very difficult to get a slice uniformly thin using a knife, and the uniformity is important for the crunch.
I start by cutting out the bottom (the top can stay as I always have a thick piece left at the end of the slicing).
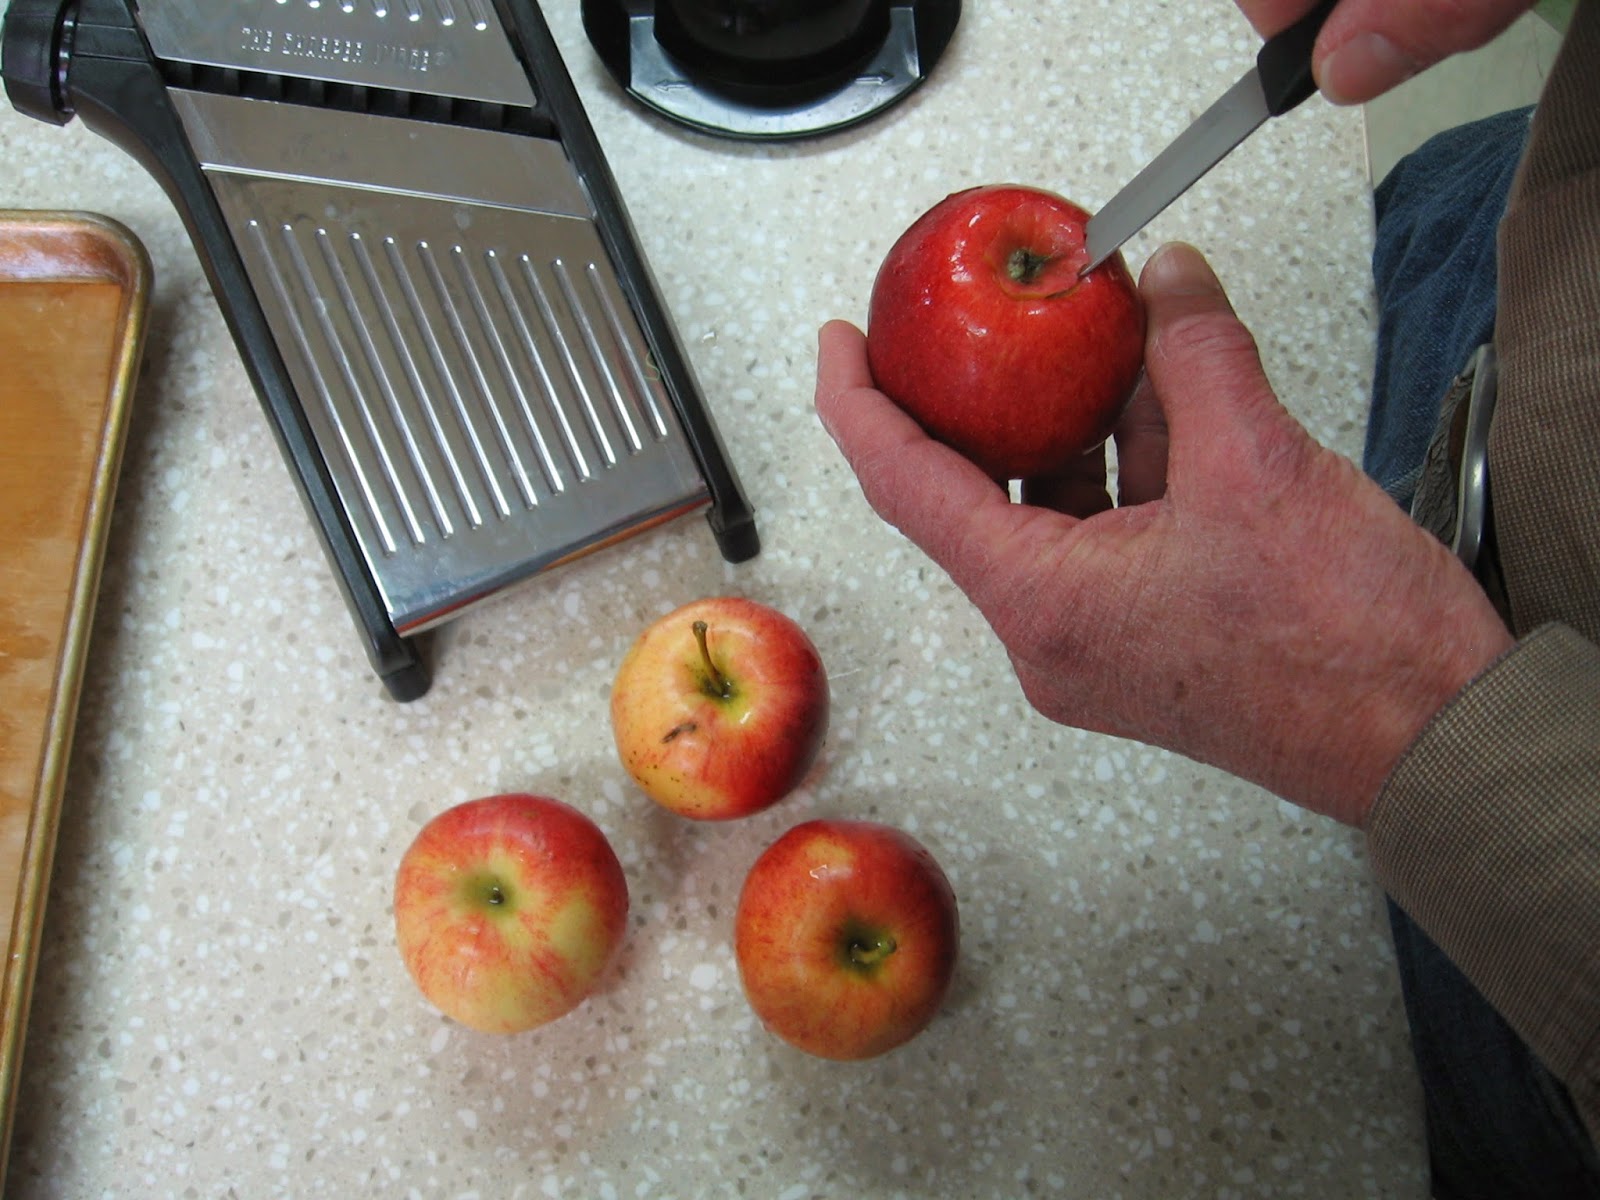
I set the mandolin on the thinnest setting and slice about three apples (two apples if you are using a regular size cookie sheet.)

I line them on the cookie sheet overlapping just a bit as they will shrink over time.

I put them in a 250 oven for about two hours

I take them out and flip them and put them back in the oven for about 20-30 minutes

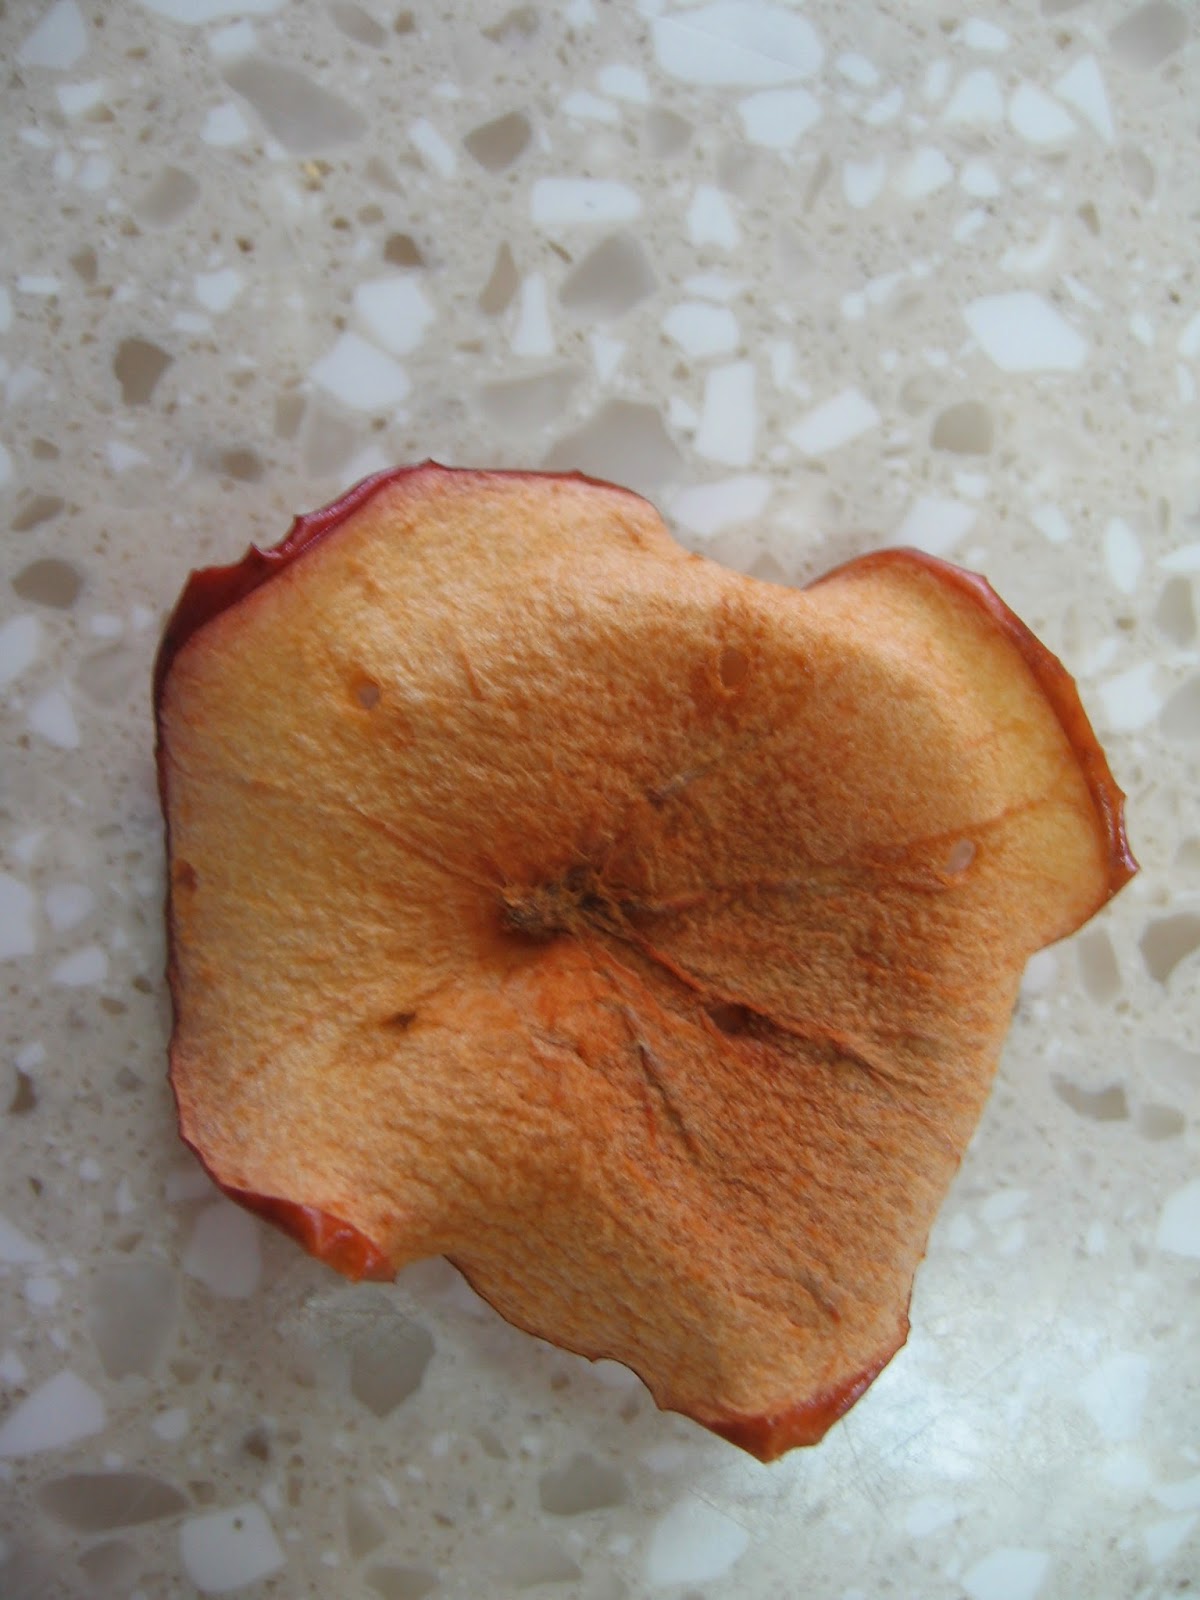
At this point I start testing them. They should be starting to turn a little brown. I take one out and leave it to cool on the counter for ten minutes. If it is crunchy, they are ready. If it is a little leathery, cook for another 10-15 minutes until they are to your liking (I probably like mine a little browner than most would.)

After they are done, take them out and let them cool COMPLETELY before storing in a gallon ziplock bag. They keep for several weeks. (At least I think so ... I usually eat them up in a few days!)
[Note: we tried drying pears and bananas but the results were less than satisfying.]
