Showing posts with label Displaying Treasures. Show all posts

Tuesday, May 22, 2012

Utillizing Fine Linens as Decor


I have acquired myriad hand embroidered linens over the years, some from family and friends and some from estate sales in anticipation of opening the B&B. Many come out for special occasions like Christmas and Valentines.  Others were not utilized  because there was just one (or a few) or the handwork was too precious to use.

One of my favorites is this beautiful tablecloth with these perfect roses and buds.  It was given to us by a guest and was sewn by a great-great somebody back when this kind of embroidery was more common place. I wanted people to see it but not be tempted to put coffee cups or wine glasses on it.  Solution?  Hang it on the wall.


Other pieces that are a little sturdier have made it onto table surfaces in the rooms.  I love these sweet little cocktail napkins that are the perfect accent for the pink & blue in Mimi's Room.


My grandmother's handkerchief sits underneath her picture and rouge box in Nana's Room.


Made for my mother's 65th surprise party, this tablecloth is the perfect accent for the blue & yellow colors in Hattie.


This "Pineapple" tablecloth, crocheted by my grandmother, hangs over the bed in Janie Lee's room.


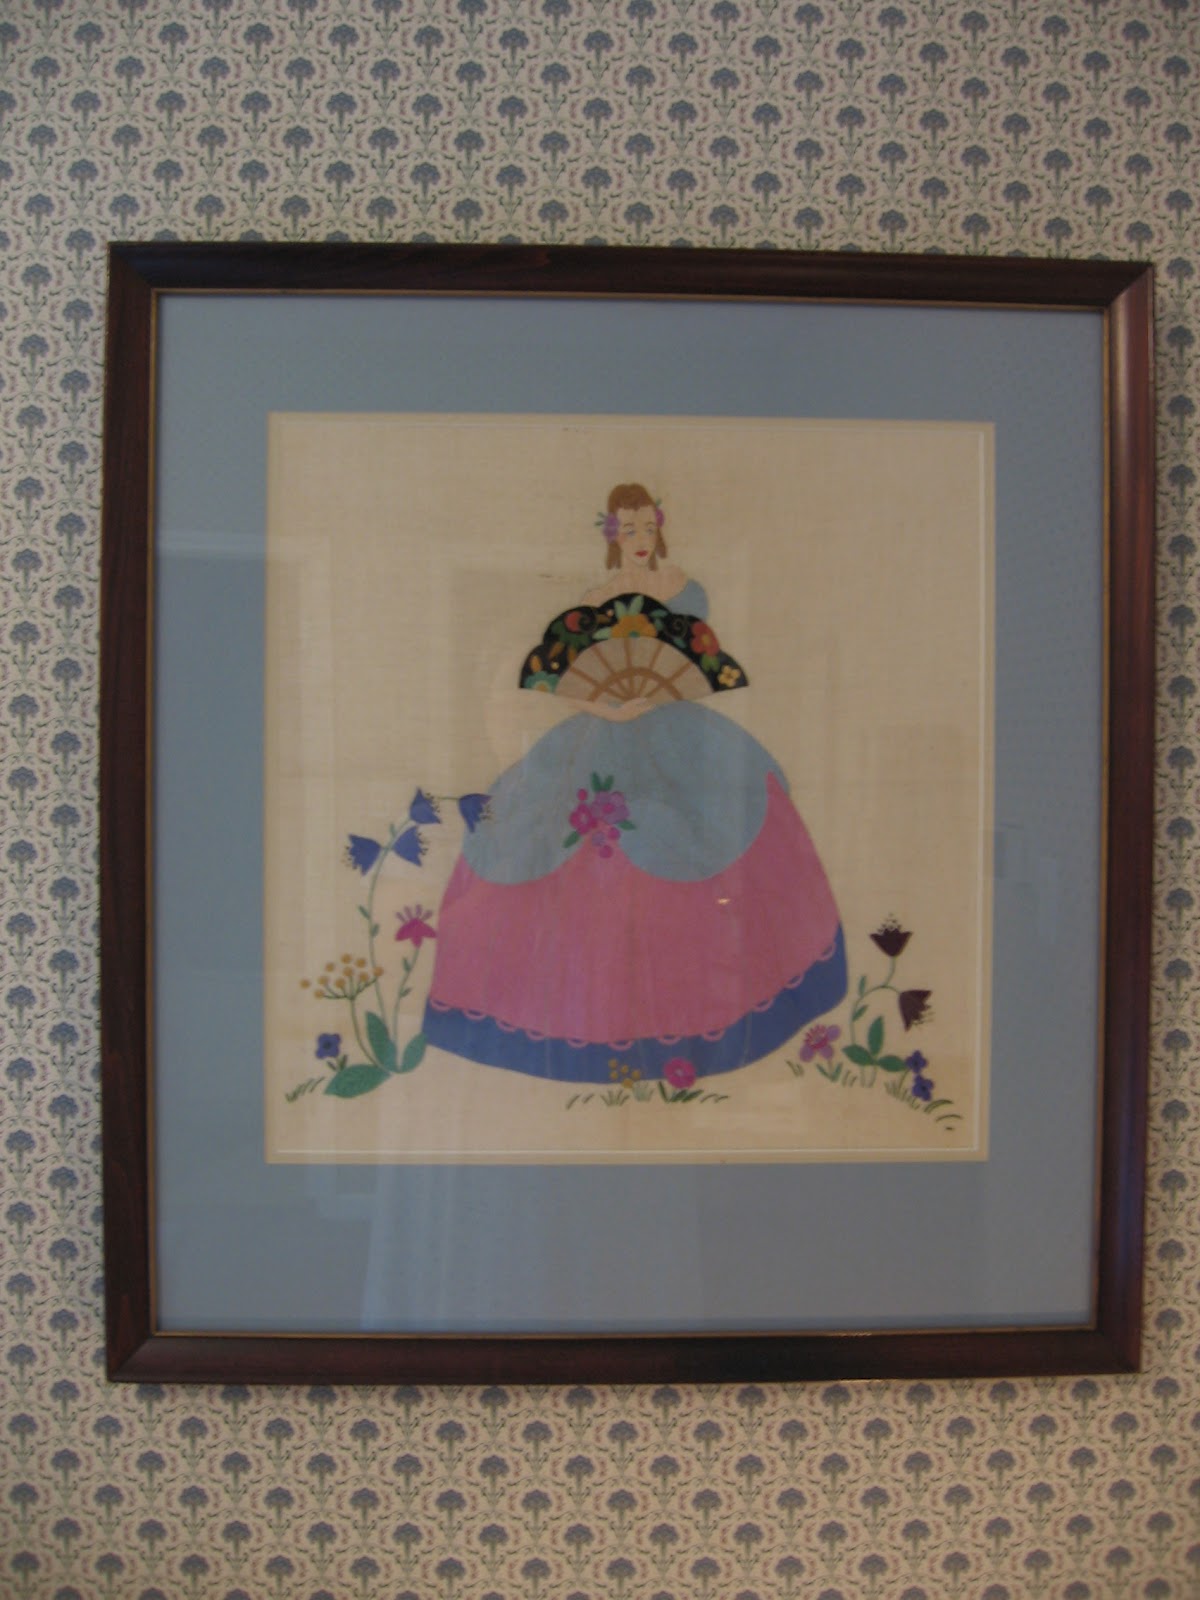
I have other pieces that were framed (and difficult to photograph). If you haven't heard the story, the embroidery of the lady on the wall in Nana's Room was originally an apron. It was stitched by a friend that was coming to America after WWII to marry an airman she met in Australia.  She worked on it the whole time she was sailing here and presented it to her future mother-in-law on arrival to the states. Fortunately, the mother-in-law took one look at it and proclaimed it too beautiful to use and promptly had it framed.

I hope this post inspires you to bring out those treasures and enjoy them.  They like being admired and enjoy the light of day!

Tuesday, April 10, 2012

Displaying Antique Buttons


I love garage and estate sales.  About half of the inn was furnished from my finds over a five year period when we were working towards opening this place.  The buttons above were mixed in with a big bag of "sewing bits and pieces" I picked up in a beautiful old home close to University Park in Dallas.  When I got the bag home and discovered them in the bottom, I was in love.  They probably aren't worth much to a collector as there are tears and stains on the cards, but I like the vintage feel of the art work.

The buttons sat around in a box of fun things I might use if I could ever think of a way when a Martha Stewart catalogue (circa 1998) showed up with a product I had used as a child in my butterfly collecting days that I had completely forgotten about - bug specimen boxes.  Perfect!


They are cardboard frames wrapped in white paper with a protective glass cover.  There are two pins pushed through the sides to hold them together and the glass presses gently against the cotton pad on the inside to hold the specimen in place.  In this case, my specimen was a button card. Just center the card on the cotton, close up the box and hang (they come with little metal hooks.)


These boxes would be ideal for any light weight objects that wouldn't slide to the bottom.  Also the paper covering could be painted and the cotton inside could be covered with fabric.  They are a quick and inexpensive alternative to picture frames.

Thursday, February 16, 2012

Utililizing Old Picture Frames

I love going to garage sales. I love finding bargains. And I love recycling. So is it any wonder that half of the inn is decorated with transformed treasures?

I also have a thing for old picture frames. There are still boxes and drawers of them in the basement, some in pieces, that I will find a purpose for some day. Finding an entire collection of small frames at a sale allowed me to display many of our old family photos in the hallway upstairs for just pennies on the dollar of what the new cost would have been. These were used just as they were.


But some of the old things I drug home needed some help.  This next one came as a package deal with two  good looking ones I wanted.  It, along with all sorts of decor, lined the walls of my computer area in Dallas (for lack of a better place to store them until the move here.)

One day,while leaning back and contemplating something, I got to staring at the lines on this old guy and realized there where little squares and dots around the edge. 

Nancy's Room was already heading towards a Mary Engelbreit theme with lots of black and white checks.  Maybe some bold paint choices were in order.


This went through several trial runs before I settled on something I liked.  At one point, the inside nubby rim was bright pink and the second layer had black and white stripes.


Each time I would just paint it all black again and start over.  When I was happy with the look, I spray painted a clear finish over the whole thing and took it in to have a piece of mirror cut to size.


Another absolutely horrible frame came to me by way of some old hotel that was selling off interior decor in a remodeling.  I don't have the before picture but just imagine an old very dark frame around a picture of "The Conquistador"...very popular in the early sixties. Needing something light and cheerful for a mirror in Hattie's Room, I started with a white base and played around with some semi-transparent stencil paints that I purchased by mistake (don't you just love those mistakes!)  I rubbed some blue into the carving on the inside rim and most of the paint off the flowers and leaves. Now I have a custom piece that is perfect.


So don't be afraid to play around.  Even if you don't need the frame for a picture, consider using it for a mirror...in a bathroom


Peaking out from behind and reflecting foliage...


Or interspersed with old pictures...


Thursday, February 2, 2012

Displaying Treasures

Over the years our inn has become a repository for all kinds of treasures. Some were made especially for us. Some were chosen to go with the “thyme” theme or the teapot collection. But others were items that were special to the giver, usually from their family, and things they thought our other guests might enjoy. These items create the history of this house...a history that is a palpable presence to me as I move through the rooms.  It is part of the reason this new building has such a warm feel.

We have come up with some fun and creative (and inexpensive) ways to showcase these gifts. Future examples will also be under the label of "Displaying Treasures." Check back often for more ideas.

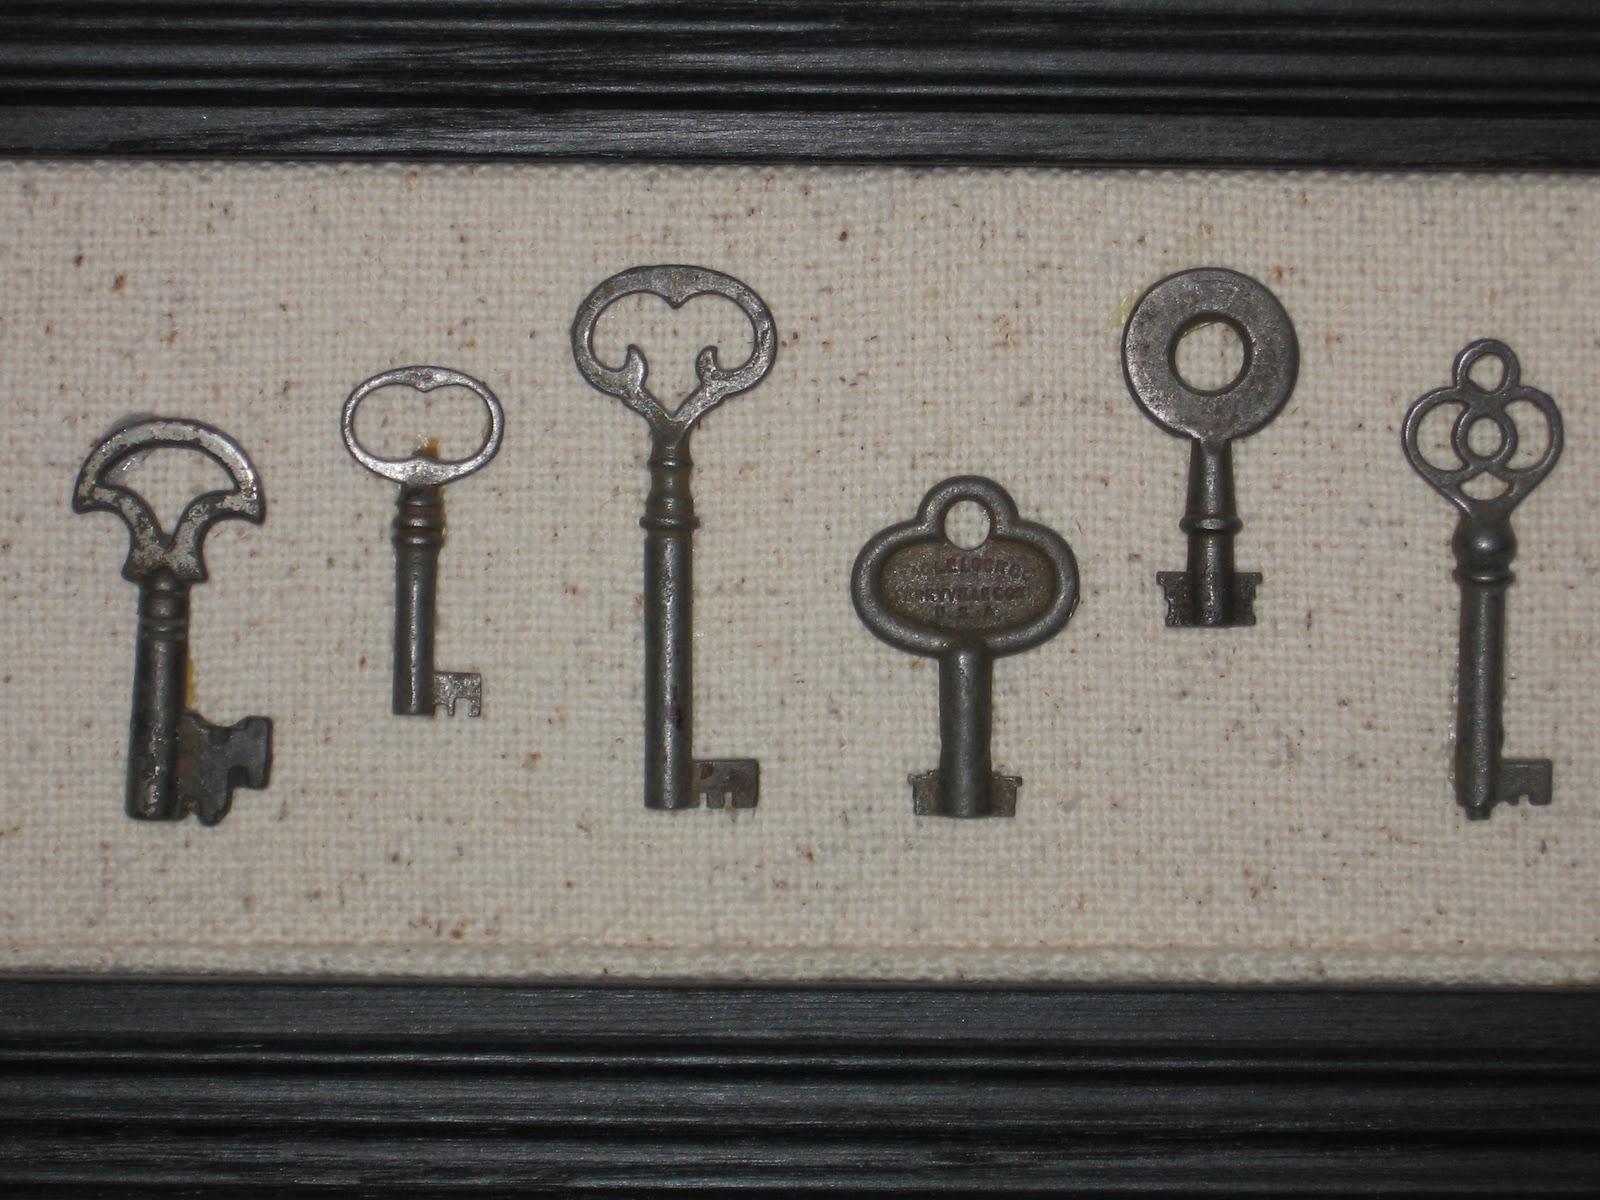
My first challenge was a collection of old keys that a friend had saved since he was a child.  They came from his grandmother’s attic and arrived to me in an old box. It took some time to decide how to display them until I found the spot where they would hang – a nice long space in a room accented with black & white checks. I found a great long unfinished wood frame at the craft store (half price) and painted it the same black as the dresser.


Next, I cut a piece of form board to fit into the frame (slightly smaller to allow for fabric wrapping), cut a piece of batting the size of the foam board and adhered the two with glue stick . I had a great old piece of loose woven, unbleached cotton which I cut a few inches wider on all sides than the board so I could gently stretch it over the batting and around the back.  I used wide packing tape to secure it to the back side of the foam board. 

After I had the fabric framed and secured into place, I spent some time playing with the arrangement of the keys until I came up with a design I liked. I used a clear silicone adhesive to hold the keys to the fabric.  It has been hanging for 14 years and only one key has needed reattaching.


If you want to finish it so it looks professionally done, take brown craft paper and glue it to the wood on the back side. When the glue has dried, spritz the paper lightly with water and then dry with a hairdryer.  This causes the brown paper to tighten up against the back. Attach your choice of picture hanger to the frame and to the wall and you are set.

This is a great way for displaying non-delicate items that do not need the protection of a glass cover. You could choose stones, seashells, corks or whatever you have stored away in a box.  Bring it out, display it and enjoy it.